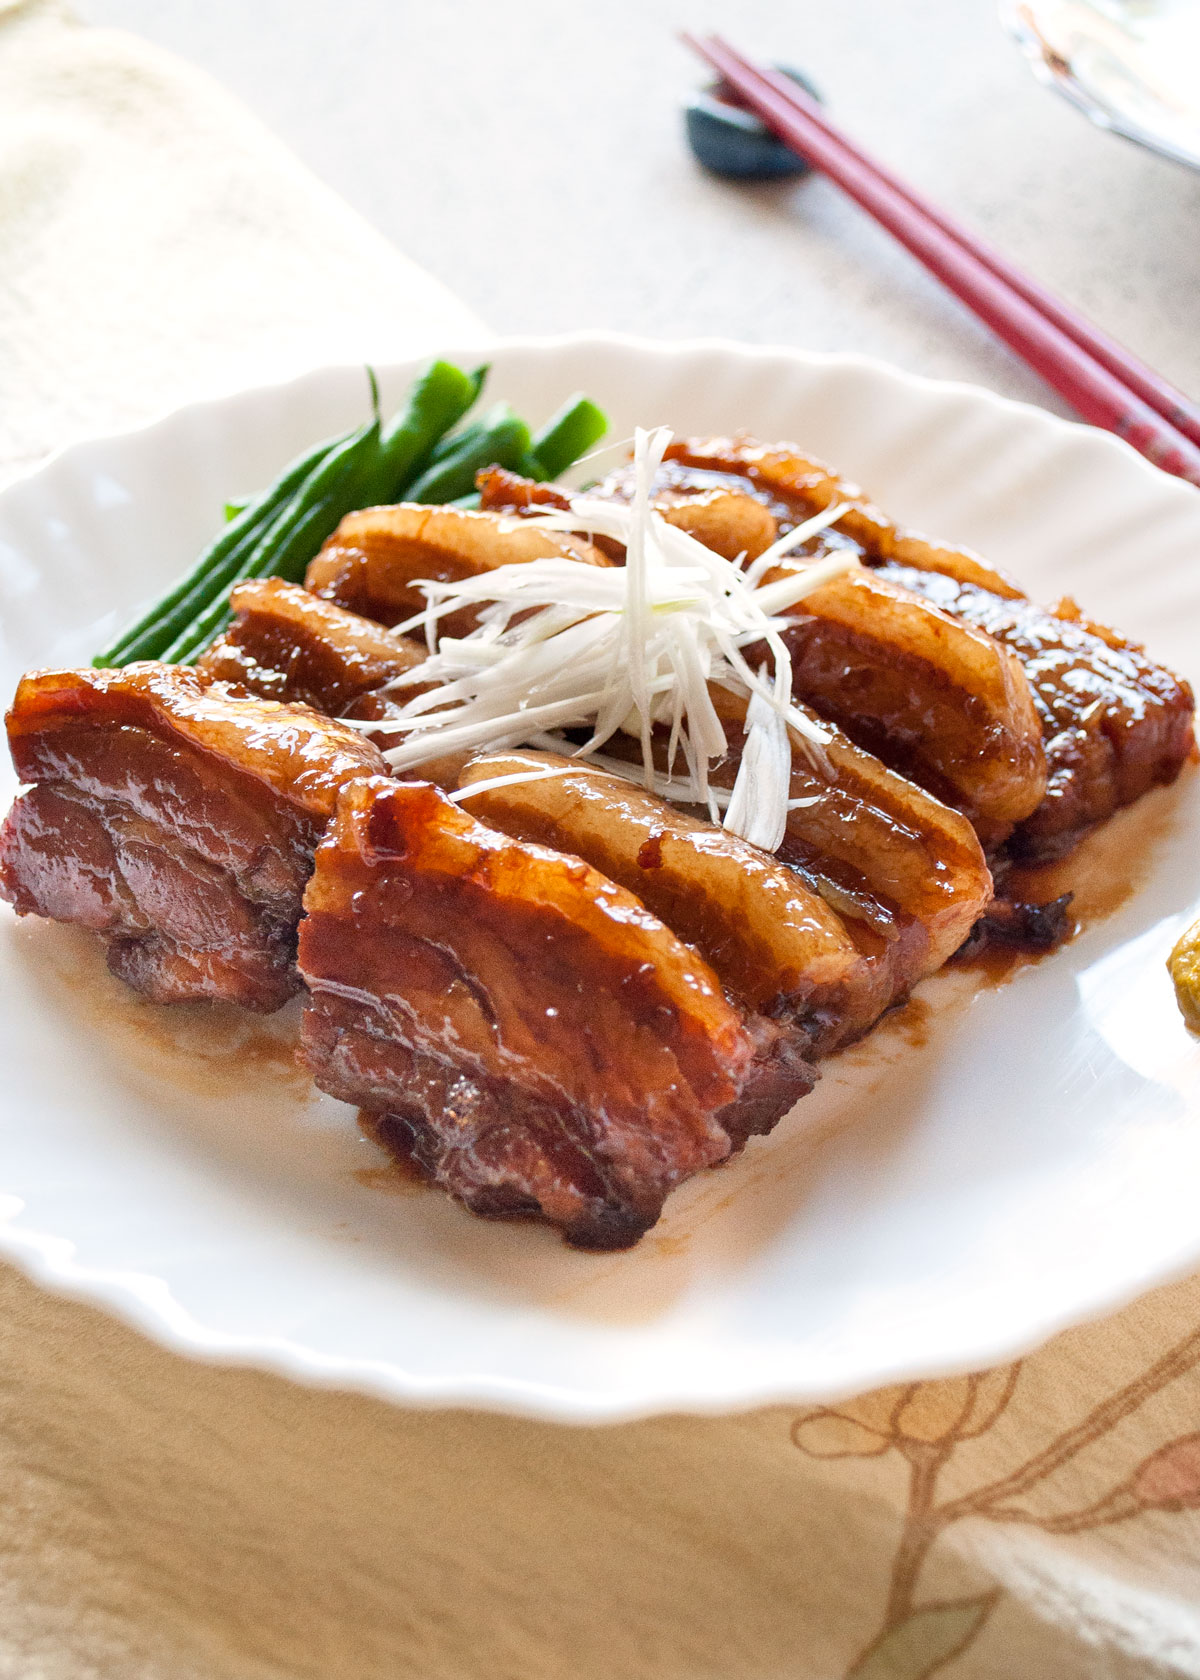
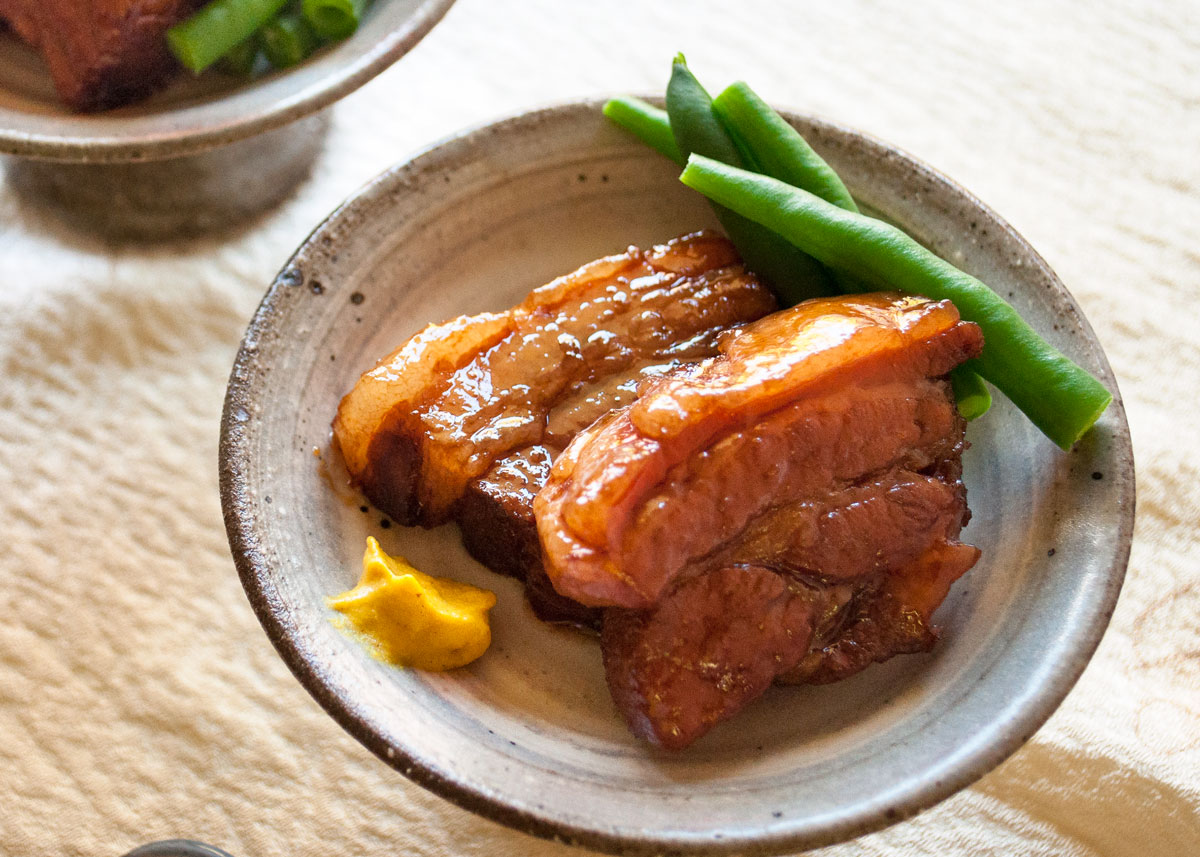
If you love pork, you must try this kakuni (角煮, simmered pork belly). The pork is cooked slowly so it is tender and it has a lovely sweet soy sauce flavour, but it does not over power the flavour of pork. Though it requires patience to cook slowly, this is very easy to make.
Some say that kakuni came from China during the time when Japan was closed to most of the outside world. At the time, the only port city where foreign ships had access to was Nagasaki and the Chinese dish called Dongpo Pork was introduced to Nagasaki. Over the years, it was modified to the Japanese palette and evolved to became kakuni.
Kaku (角) comes from the word kakugiri (角切り) which means ‘cut into cubes/square’ and ni (煮) comes from the word niru (煮る) which means to simmer/cook in liquid. So the name kakuni does not imply or mean “pork” but if you say kakuni, it has to be made with pork belly.
Pork belly has a lot of fat but that’s where all the flavour is. However, by cooking the pork belly for a long time, much of the fat melts away and the fat that remains is really tender so the finished dish does not taste fatty.
Kakuni is simple to make with only common Japanese seasonings. Time is the only restricting factor if you are in a hurry because it will take almost 3 hours to cook in a normal pot. But if you use a pressure cooker, you can shorten the cooking time significantly.
Some kakuni recipes brown the meat cubes in a fry pan first before simmering them in the braising liquid. But I don’t, probably because I used to mostly cook kakuni in a pressure cooker where I threw everything in a pot and just cooked after quickly blanching the meat.
Some recipes have boiled eggs added into the braising liquid towards the end. The surface of the egg gets stained brown and looks quite dramatic when served cut in half – imagine the yellow yolk and the egg whites outlined in brown. To come to think of it, I don’t think I have ever served eggs with kakuni which is surprising given that my youngest daughter loves eggs and asks for eggs to be added to everything!
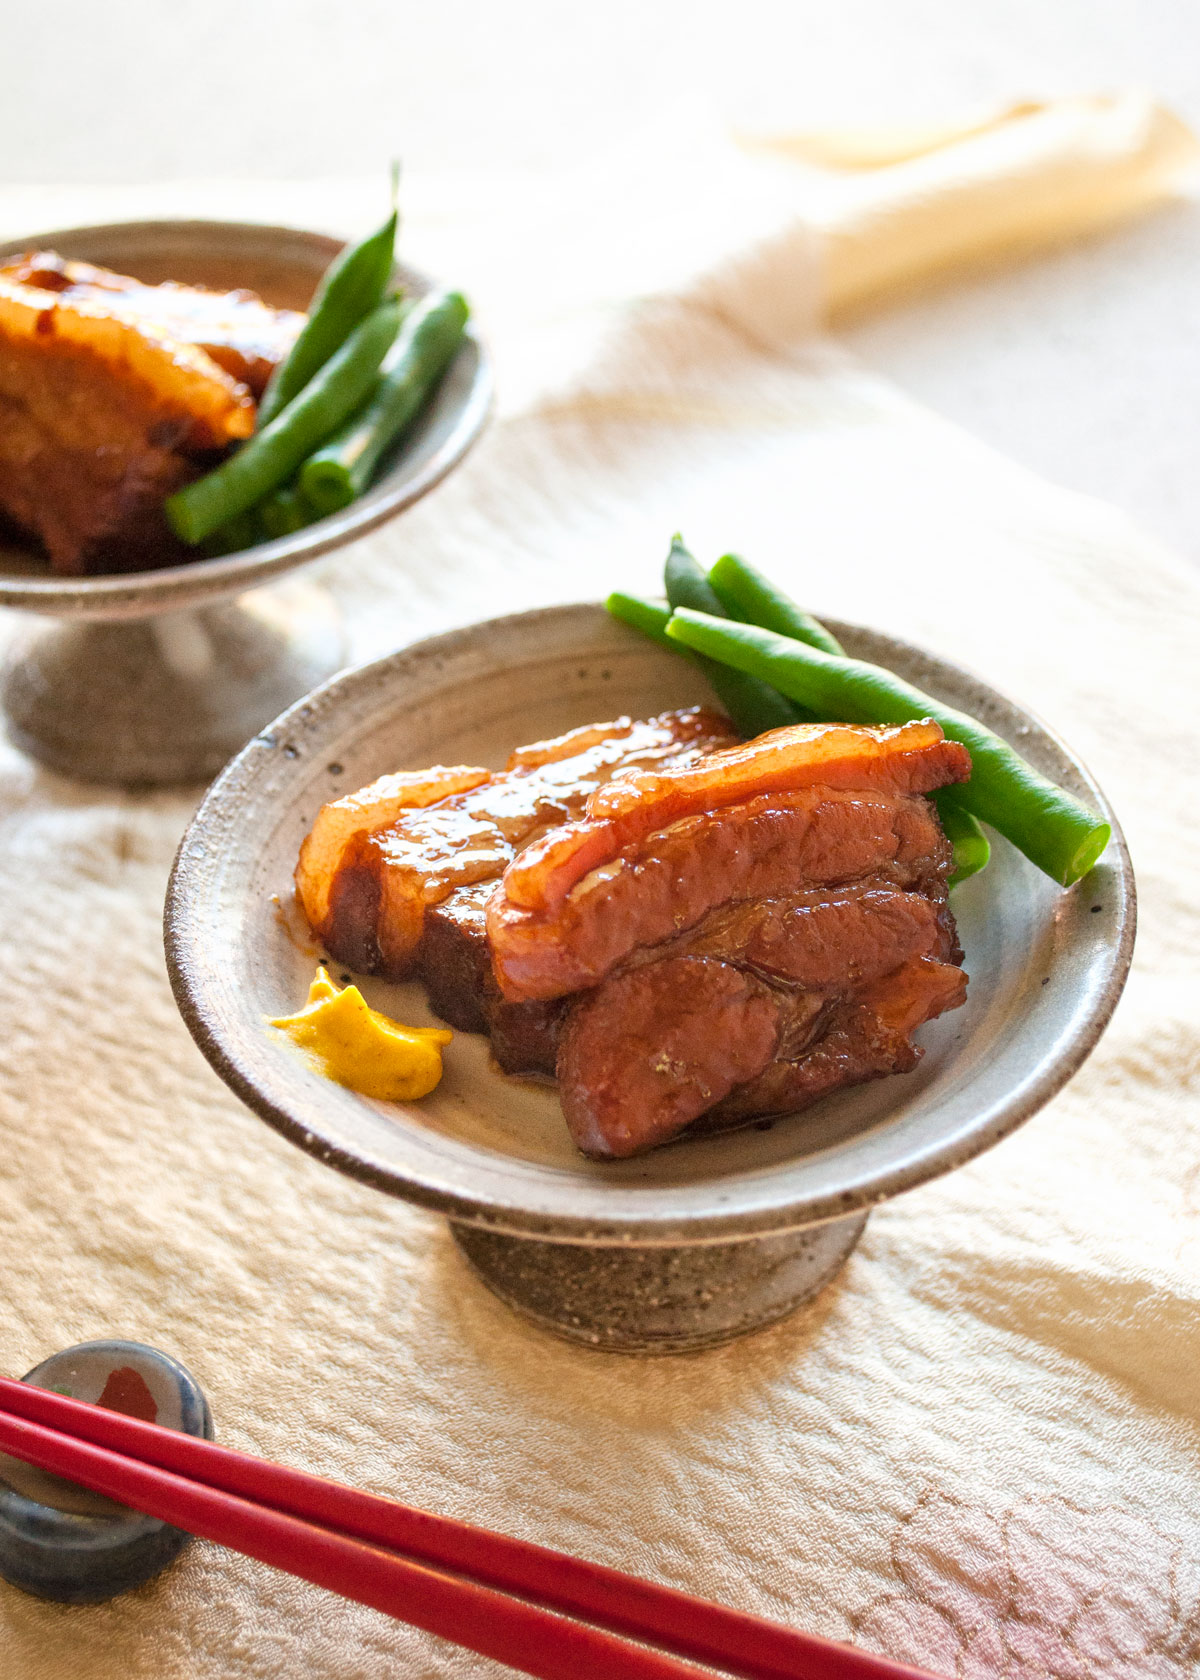
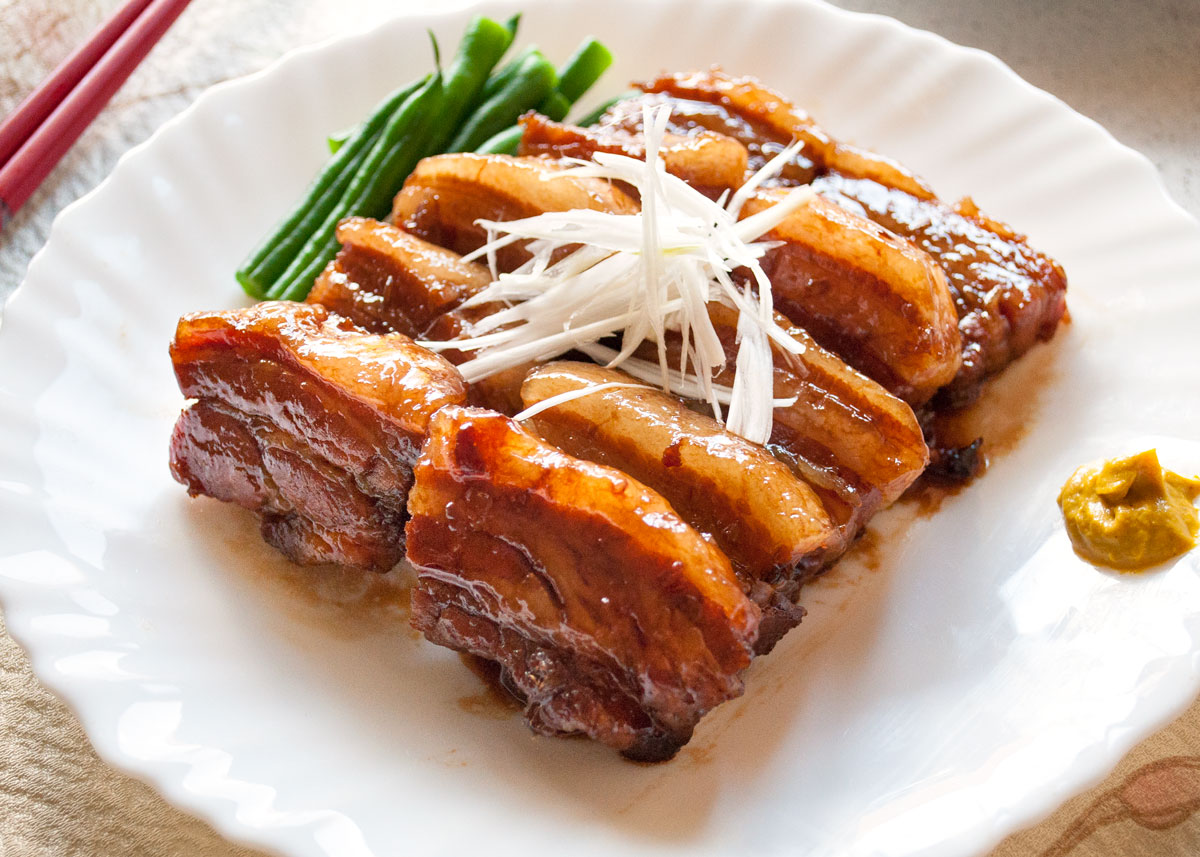
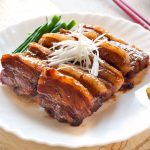
Kakuni is usually served as a main dish but it can also be served as an appetiser/starter with just a couple of pieces per serving. In my photos, you can see the dish served as a main meal on a white plate as well as an appetiser on two little plates with stand.
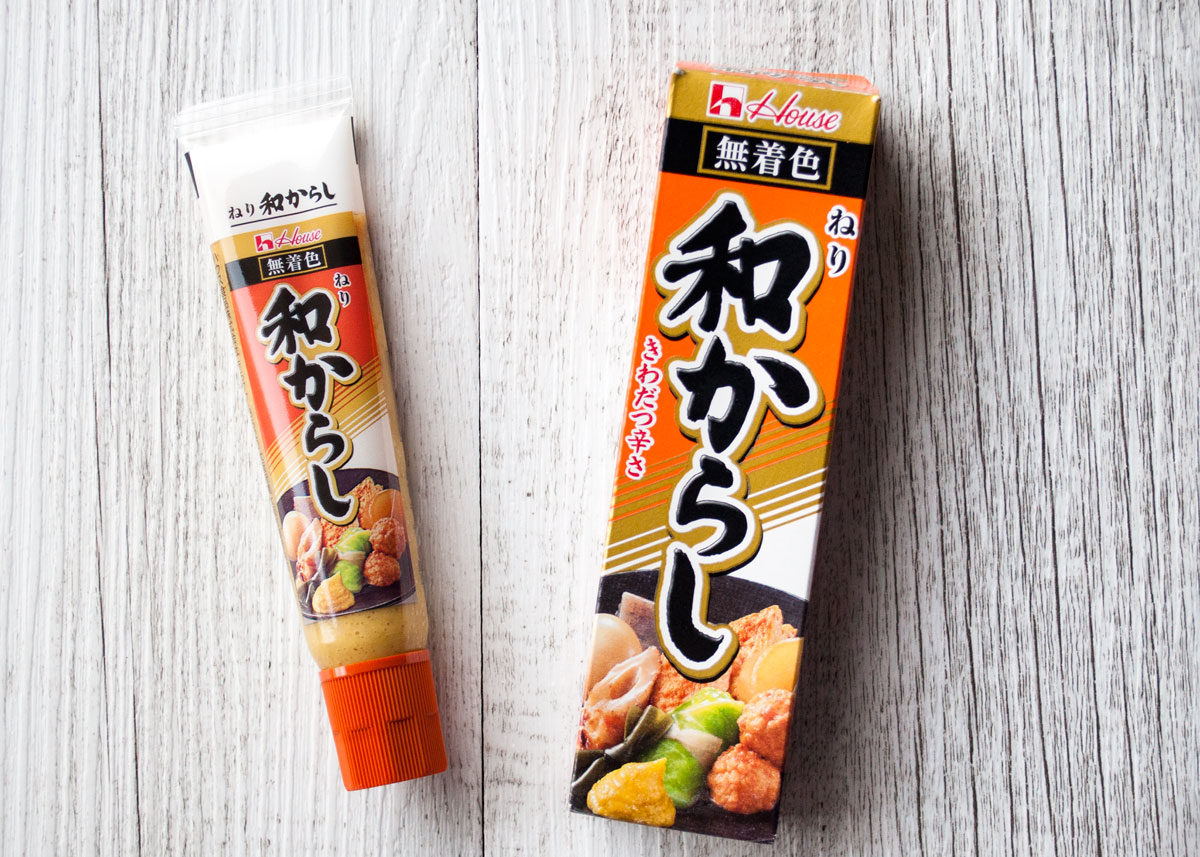
It is traditional to serve kakuni with a drop of Japanese mustard called karashi (辛子 or からし). Karashi is a bit darker yellow than most other mustard. It does not have acidity in it and very hot. It is perhaps closest to hot English mustard.
You can buy karashi at Japanese/Asian grocery stores. They come either as paste in a tube or powder in a small tin. The tube version seems to be more widely available. Karashi in a tube looks like this.
If you happen to get karashi in powder form, you just mix the powder with warm water in a little bowl to make a paste, then cover and leave it for a while to develop spiciness.
I ran out of karashi so I used hot English mustard this time and it was OK. American mustard does not go as well due to strong acidity.
Unlike most of my Japanese dishes, you might find that kakuni has rather strong soy sauce flavour. My son commented about it saying that the flavour is strong, unlike my usual dishes. But it has to be strong flavoured, otherwise it won’t be kakuni. If your palette is on a sweet side, you could increase the amount of sugar by ½ tablespoon.
Yumiko![]()
- 500g (1lb) pork belly (Note 1)
- 1 shallot/scallion stem , white part crashed (note 7)
- 30g (1oz) ginger , crashed (note 7)
- 100ml (3.foz) sake
- 100ml (3.foz) water
- 2 ½ tbsp soy sauce
- 2 tbsp sugar (Note 2)
- 6 green beans , boiled and cut into bite size
- 1 tbsp shallots , white part julienned (Note 3)
- Japanese karashi (Note4) or hot English mustard (optional)
-
Add the Pork ingredients in a large pot which is large enough to lay the pork belly strips. Add generous amount of water and turn the heat on high.
-
When the water starts boiling, reduce the heat to low so it simmers. Place a drop lid (Note 5) and cook for 2 hours or until tender (if the pork belly is thicker, you may need cook longer). If the water reduces too much and the pork appears above the water level, add some more water and ensure that the pork is always under the water.
-
Using tongs or two spatulas, remove the pork strips carefully from the pot and rinse them under the running cold water gently. The pork should be quite tender now so be careful not to break them.
-
Cut each pork belly strip into 3 or 4 equal sizes, about 4cm (1 1/2") wide.
-
The liquid in which the pork was boiled can be re-used as soup stock. See Note 6.
-
Add the Simmering Sauce ingredients and the pork belly pieces to another pot and turn the heat on high. When started boiling, reduce heat to low to simmer. Place a drop lid (Note 5) and cook for 25 minutes or until the liquid reduces to only about 1-2 tablespoons. While cooking, shake the pot occasionally to make sure that the sauce coats all sides of the meat.
-
Turn the heat off. Plate the pork with green beans on the side, add the julienned shallots on top. Drop a small amount of karashi or hot English mustard.
1. I had 3 strips of pork belly which were about 4cm (1 1/2") thick, 1.5cm (⅝") wide. They came with skin on but I removed the skin.
2. If you like sweeter flavour, you could increase the amount of sugar by ½ tablespoon.
3. Karashi is Japanese mustard. It is yellow paste just like most other mustard but it does not have acidity in it and very hot. You can buy karashi at Japanese/Asian grocery stores. It comes either in a tube as paste or in a tin as powder. To make karashi paste from powder, you mix the powder with warm water in a little bowl to form a paste, cover it with cling wrap for a while to develop spiciness.
3. I just took about 4 cm of the shallot stem (white part) from the Pork ingredients.
5. Drop lid (Otoshi buta - 落し蓋) is a round lid which is slightly smaller than the opening of a saucepan. It is traditionally made of wood but I have a stainless lid. It is placed on top of the ingredients in a pot to ensure the heat is evenly distributed, cook faster, make the ingredients stay in place without breaking apart. It also stops the liquid from evaporating quickly.
If you don’t have a drop lid, you can make one with aluminium foil. Cut a square foil, fold the edges to make it a round shape with the diameter slightly smaller than the port. Then poke the foil with a knife or a chopstick to make holes in several places.
Though using a drop lid is the traditional way of cooking Kakuni, you could just put a lid on the pot though this may affect how evenly the pork is braised.
6. Transfer the liquid in which the pork was boiled into a container through a sieve and leave it in the fridge. When chilled, remove the excess fat formed on the surface of the liquid. You can also freeze it.
7. Use the side of your knife to press down on the side of the shallots to crush the stem. Do the same for the ginger to crush.
Simply delish! Thank you Yumiko for this recipe!
Hi Katrin, my pleasure. I am glad you liked it!
Hi Yumiko .looks delicious ! I will try for sure ! Do you mind sharing party size of pork belly recipe ? please contact if you are comfortable thank you .
Hi Sara, I don’t have a party-size pork belly recipe, but this Kakuni can be scaled up if it fits the theme of your party…
Hi Yumiko!
I’m really excited to try this recipe. I usually bulk-cook recipes for the week, so I would be wanting to make 12 servings of this at once (ambitious, I know!).
Will the cooking time still work if i scale this recipe up? Are there any other things that you could recommend I change if I were to scale this recipe?
Thanks so much!
Laine
Hi Laine, it will take much longer to bring the water and the simmering sauce to a boil, but once it reaches the boiling point, the cooking time does not need to be increased. I have not tried making such a large amount of Kakuni, but I think the amount of simmering sauce can be less than what is required for 12 servings. You may want to start with a smaller volume, for example, 2/3 or 3/4 of what you calculated. You can freeze Kakuni.
Hi Yumiko,
Thank you so much for your reply! I’ll try it out!
I am going to try this recipe but do not have Sake. is there a substitute or am I able to leave it out completely?
thank you
Hi Shawa, if you have a bottle of Chinese rice wine, Shaoxing Wine, that can be substituted. Dry sherry can also do the job. If you can’t use alcohol, you could replace it with the same amount of water, bit the flavour will not be the same.
Thank you so much for your reply. I did use Shaoxing Wine and it was great. I made this for my daughters Japanese themed birthday dinner and it was a hit. I made the Tsukune and Cabbage and Shimeji Mushrooms Ohitashi Salad to go with it and everyone enjoyed it.
Hello! I understand that Dashi is not necessary for this recipe? Thanks! Michele
Hi Michelle, that is correct. There are recipes that use dashi, but my recipes does not use it. You cook pork belly for a long time and you get a good stock out of it.
Hello, what would you recommend as side dishes . We are having a Japanese dinner party. Our guests are gluten intolerant. Thanks in advance!!
Hi Lola, that’s exciting! Since Kakuni has a strong sweet soy flavour, I would recommend picking side dishes that are light and/or cleanse the palate. Also, you would want to take into account the various colours spread on the table. Picking some dishes that can be made/prepared the day before is also a good plan.
* Vinegar-based side dish such as Cucumber and Seaweed Sunomono, Pickled Chrysanthemum Radish, Pickled Carrot and Daikon Recipe (Kōhaku Namasu).
* Egg goes well with Kakuni and add a bright yellow to the table, e.g. Ramen Egg (Ajitsuke Tamago), Japanese Style Scrambled Eggs (Tamago Toji). If the format of serving dishes suits and you have time to do, Chawanmushi (Savoury Egg Custard) will make the meal special.
* If you want a bit more protein, a side dish such as Shrimp Stuffed Shiitake Mushrooms, Smoked Salmon with Grated Daikon Dressing (Mizore-ae),
* You will definitely need a salad with light dressing such as Persimmon Daikon Salad (persimmon is in season, buy a flat ones, not acorn-shaped ones), Chinese Cabbage and Apple Salad, Konbu Seaweed Salad with Cucumber.
Even if you may not pick the above, as long as you try to balance the flavours and colors, you won’t go wrong. good luck with the Japanese dinner party!
Hello I was wondering if I could do this recipe in a slow cooker, by following the same steps?
Hi Louwana, please see my reply to the same question here.
This is nice to understand. I wish there were photos of the cooking process. I have a 1kg block of pork belly. I’m wondering if I should cut it up first or cook it whole. Cooking whole will take longer but may stay juicier… not sure?
How thick and long should the cuts be?
I’m in Japan and had some Kakuni as a Otoshi at n izakaya the other day and decided I must cook it. Usually I just do roast pork belly.
Excited. Will try it this weekend. Thanks !
Hi Andrew, I am sorry about the absence of the step-by-step photos. This recipe was posted quite long time ago when my contents were not very good. I will have to make improvements and re-publish these when I can.
Most Kakuni recipes do not cook a whole block to start with. Cut the block into 1.5cm thick long strips. the length of the strips does not matter, So I would cut the blok from one end to the other. Boil them until tender per the instruction steps 1 & 2. Rince, then cut the strips into about 4cm wide pieces and cook with the flavouring (steps 3 onwards).
Good luck with it and please let me know how it went.
Can you do recipe with pork butt or other pork cuts?
Hi Bradley, you should be able to make it with other cuts of meat. It may be on a dry side due to lack of fat between the layers of meat. Cut the meat into cubes so that they look like kakuni.